#

Swiftype
Create custom search experiences to drive sales and conversions.
Fast, relevant and powerful search experience for your website or custom application — without the learning curve. Sell more and get the right answers to more people on your platform.
#
Prerequisites
- Preexisting website.
#
Installation
Go to Swiftype and login to your account. If you don't have one, create a new account.
Click Create Engine.
Add your website URL or a path.
Click Verify URL.

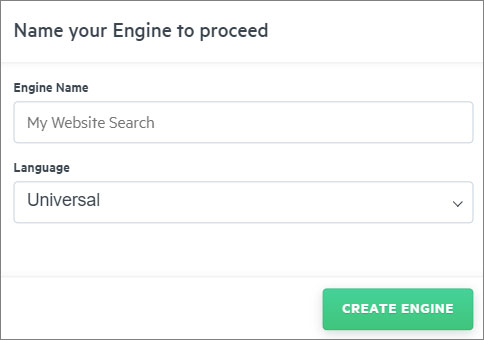
- Name your Engine something descriptive and select a Language.

- Click Create Engine.

Click Complete Setup.
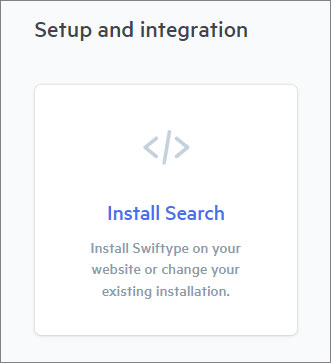
Look for Setup and integration at the bottom of the page and click on Install Search.

- Copy the code snippet provided.

- Paste the code between the
<body>HTML tags on every page of your website that you would like Swiftype's embedded options to appear.
- Copy the code snippet provided.

Go to Google Tag Manager and log in.
Select the container for the website where you want to add Swiftype.
Click on "Tags" in the left sidebar.
Then, click the New button to create a new tag.

Name your tag something descriptive, like "Swiftype Search Integration".
Choose Tag Configuration and select Custom HTML.
Paste the Swiftype snippet.
Click on "Triggering". Select All Pages if you want the search script to be available on every page of your website.

Note:
Alternatively, you can choose a specific trigger, like only firing on a particular page (e.g., a search results page).
Click Save.
Use the "Preview" mode in Google Tag Manager to check if the tags are firing correctly, or use the Google Tag Assistant extension in your browser to verify the installation.

- Click Publish.
Go to the HTML where you have your search form.
On the input field, add the following class:
st-default-search-input.
<form>
  <input type="text" class="st-default-search-input" />
</form>