Welcome to Part 2 of your WordPress website journey! In [Part 1](/tutorials/wordpress/launch-wordpress-website-in-aws/), we launched a WordPress site on AWS. Now, we’ll explore how to enhance your site’s speed and security with a Content Delivery Network (CDN). A CDN improves performance by distributing your site’s content across global servers, ensuring faster load times for visitors regardless of location. Let’s dive into optimizing your WordPress site for a smoother, more secure user experience!
## Request your certificate
First, let’s make your site secure. An SSL/TLS certificate protects your website by encrypting information between your site and visitors. It also shows a “padlock” in the browser to let users know your site is safe. Let’s get that certificate set up!
1. Pop into the AWS Management Console and search for **Certificate Manager** in the Services menu.
2. Click on **Request** — think of it as applying for your domain's VIP pass.
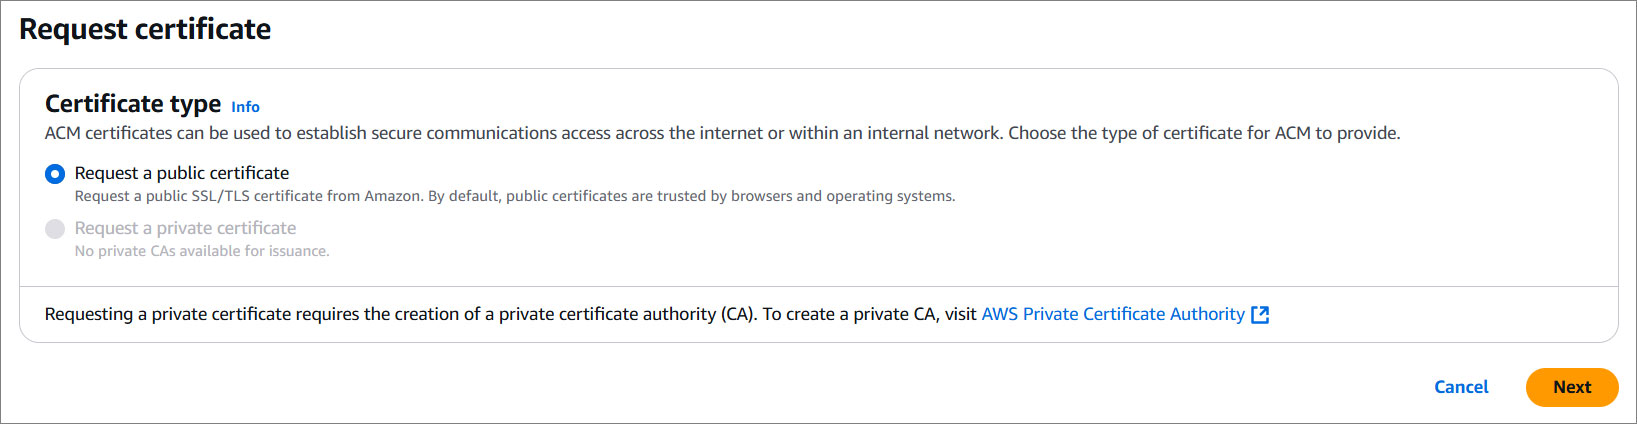
3. Select **Request a public certificate** and hit **Next**.
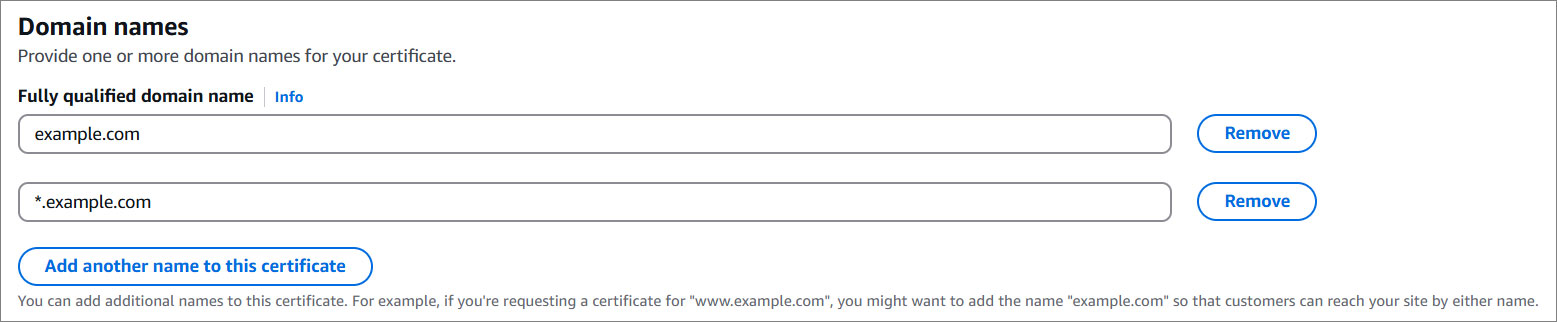
4. Drop in your domain name (e.g., `example.com`).
5. Click on **Add another name for this certificate** and add your domain with `*.` in front like (e.g., `*.example.com`).
5. Hit **Next**.
6. Click **Create records in Route 53** to validate your domain.
7. You will see your domain(s) here. Just hit the **Create record(s)** button.
8. AWS is in the process of generating your certificate. This may take about 10 minutes.
## Add a CDN
Time to give your site some turbo-charged speed with a Content Delivery Network (CDN).
### Step 1: Create stack
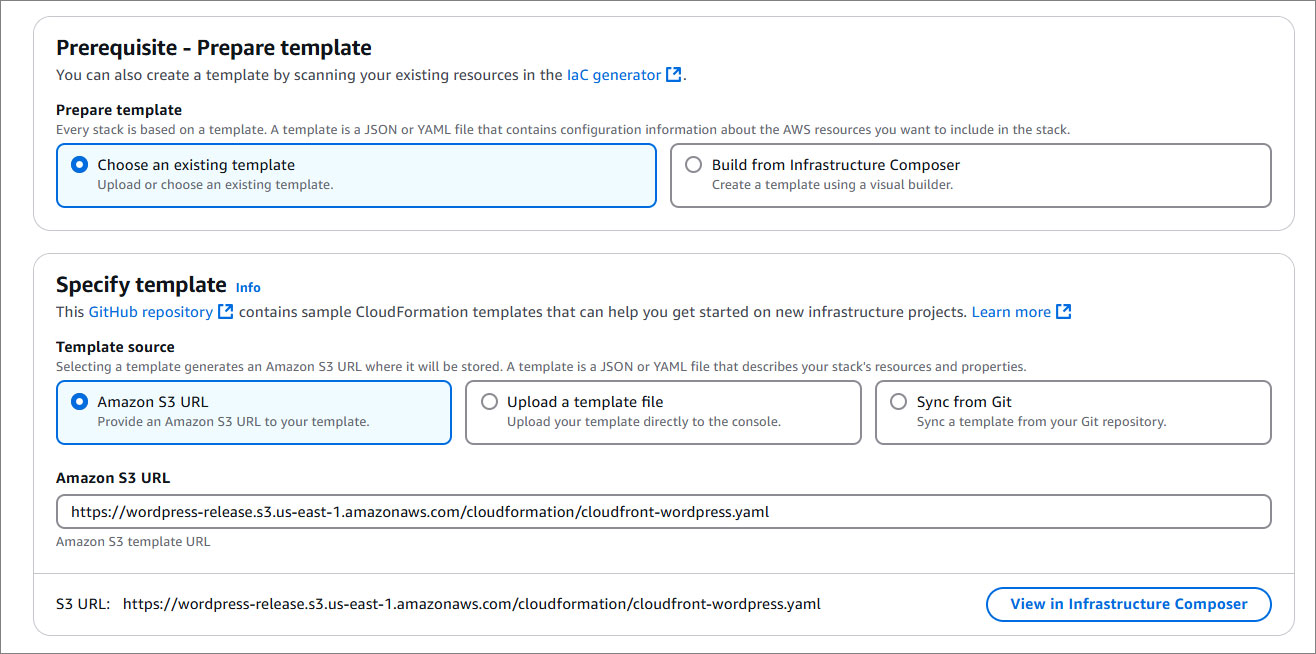
Click the button below and let CloudFormation work its magic.
LAUNCH CDN
!!!
**Heads Up:** If you’re not in `us-east-1`, adjust the region in the AWS console menu to match where you are.
!!!
### Step 2: Name your stack & add details
Pick a name that works for you—whether it’s fun, simple, or somewhere in between. Just make sure it’s between 1–128 characters, begins with a letter, and doesn’t include any special characters.
### Step 3: Customize your settings
Add details like your domain name, certificate ARN, and CMS DNS. The wizard will guide you here.
Name | Description
--- | ---
CloudFront Certificate ARN | The AWS Certification Manager certificate ARN for the CloudFront distribution certificate. To find the certificate navigate to **Certificate Manager,** click on the respective domain name and copy the **ARN.**
Website Domain Name | The domain name of the Wordpress website (e.g. example.com).
CMS DNS Name | The Wordpress DNS or IP used to login. To find the DNS navigate to CloudFormation, locate your WordPress instance, click on the Outputs tab, and copy the **AdminUrl.**
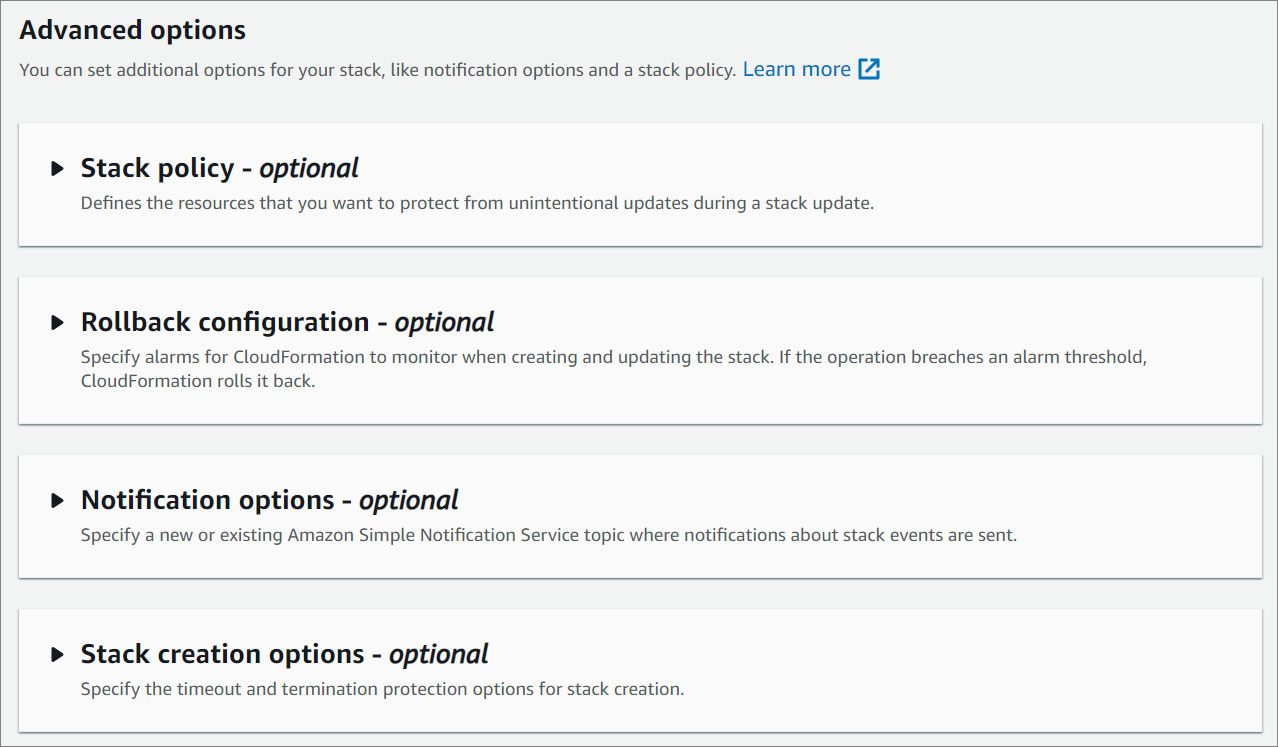
### Step 4: Configure stack options
Optional but useful for organizing resources.
### Step 5: Review and create
Double-check everything and hit **Submit**.
## Update Record
1. Go to **Route 53** by searching for it in the Services menu.
2. Under **Hosted Zones**, select the domain you created earlier.
3. Select your domain and click on **Edit Record**.
4. Update the **Record Type** to **A - Routes traffic to an IPv4 address and some AWS resources**
5. Enable **Alias**.
6. Under **Route traffic to** select **Alias to CloudFront distribution**.
7. Select the corresponding CloudFront distribution.
8. Click **Save** and allow about 60 seconds for the changes to take effect.
!!!
**Pro Tip:** Confirm the correct CloudFront distribution by matching its domain name in the CloudFront dashboard.
!!!
!!! warning Note:
If your domain starts with www (e.g., `www.example.com`) and you want the root domain (`example.com`) to redirect to your website with www, or vice versa, create a new record. Leave the record name empty, and follow the same procedure as before: set the record type to A, choose alias, and select your CloudFront distribution.
!!!
## Access your CMS
Now it's time to log into your WordPress dashboard and start building your website! Here's how:
1. Open your browser and paste the WebsiteURL to see your WordPress front-end website live.
2. For full control simply add `/wp-admin` to your URL and log in using the credentials listed in the Outputs tab.
**Congratulations, you did it!** Your website is now fully optimized — blazing fast, secure, and equipped with all the tools to stand out in the digital world. With your sleek SSL certificate and lightning-fast CDN, you have built a solid foundation to impress and engage your visitors. Now it's time to start customizing, creating, and bringing your vision to life. Get ready to take on the internet!