#
How to Secure Your Drupal AWS Website with CDN
Welcome to Part 2 of your Drupal website journey! In Part 1, we deployed Drupal on AWS. Now, we’ll take the next step in boosting your site's performance and security by integrating a Content Delivery Network (CDN). A CDN accelerates content delivery by caching your website on servers around the globe, providing faster load times for visitors everywhere. Let’s dive into optimizing your Drupal site for an enhanced user experience and increased protection!
#
Request your certificate
First, let’s make your site secure. An SSL/TLS certificate protects your website by encrypting information between your site and visitors. It also shows a “padlock” in the browser to let users know your site is safe. Let’s get that certificate set up!
Pop into the AWS Management Console and search for Certificate Manager in the Services menu.
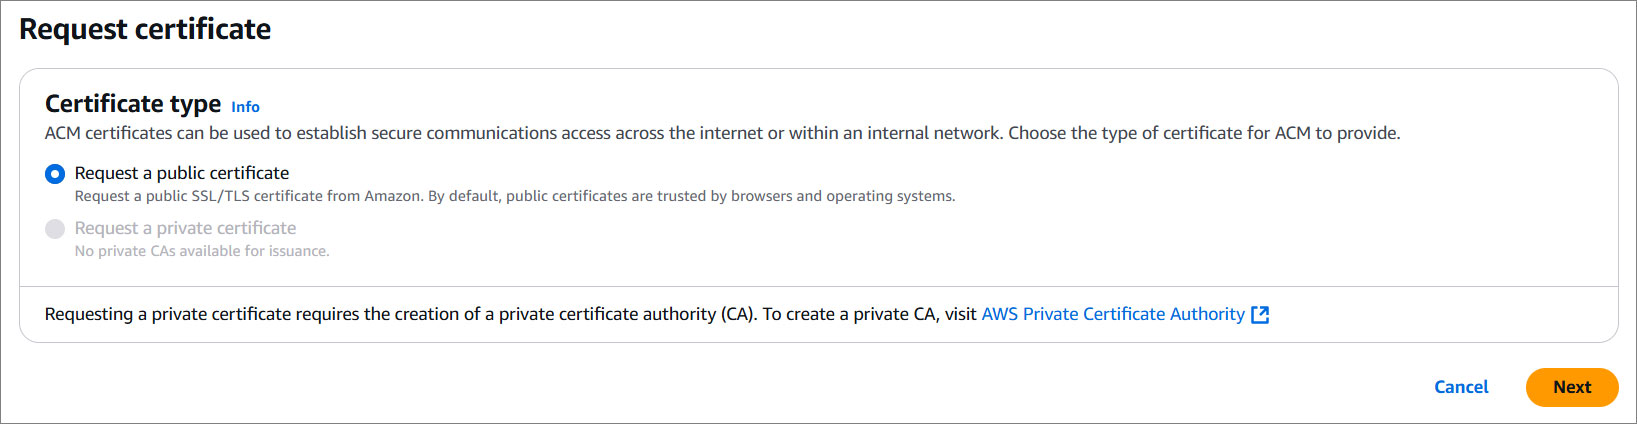
Click on Request — think of it as applying for your domain's VIP pass.

- Select Request a public certificate and hit Next.
Drop in your domain name (e.g.,
example.com).Click on Add another name for this certificate and add your domain with
*.in front like (e.g.,*.example.com).
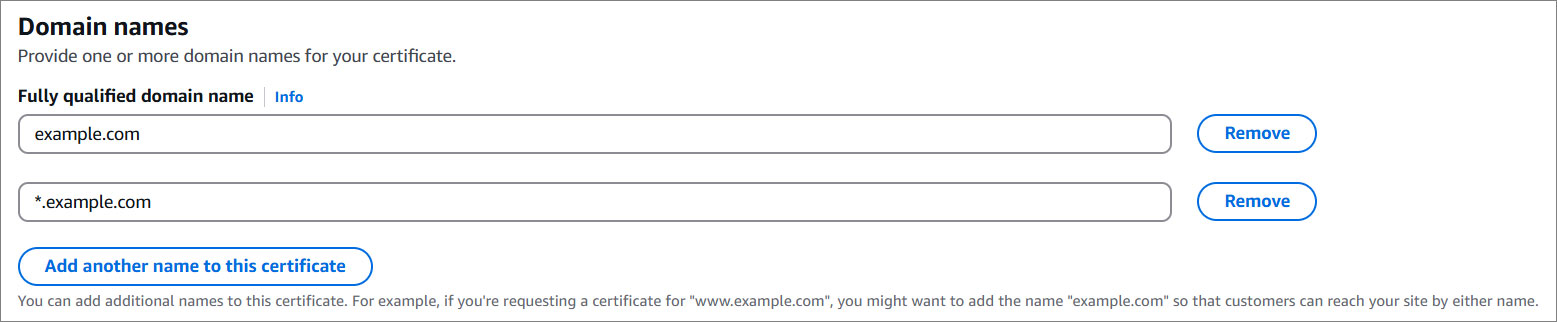
Hit Next.
Click Create records in Route 53 to validate your domain.

- You will see your domain(s) here. Just hit the Create record(s) button.

- AWS is in the process of generating your certificate. This may take about 10 minutes.
#
Add a CDN
Time to give your site some turbo-charged speed with a Content Delivery Network (CDN).
#
Step 1: Create stack
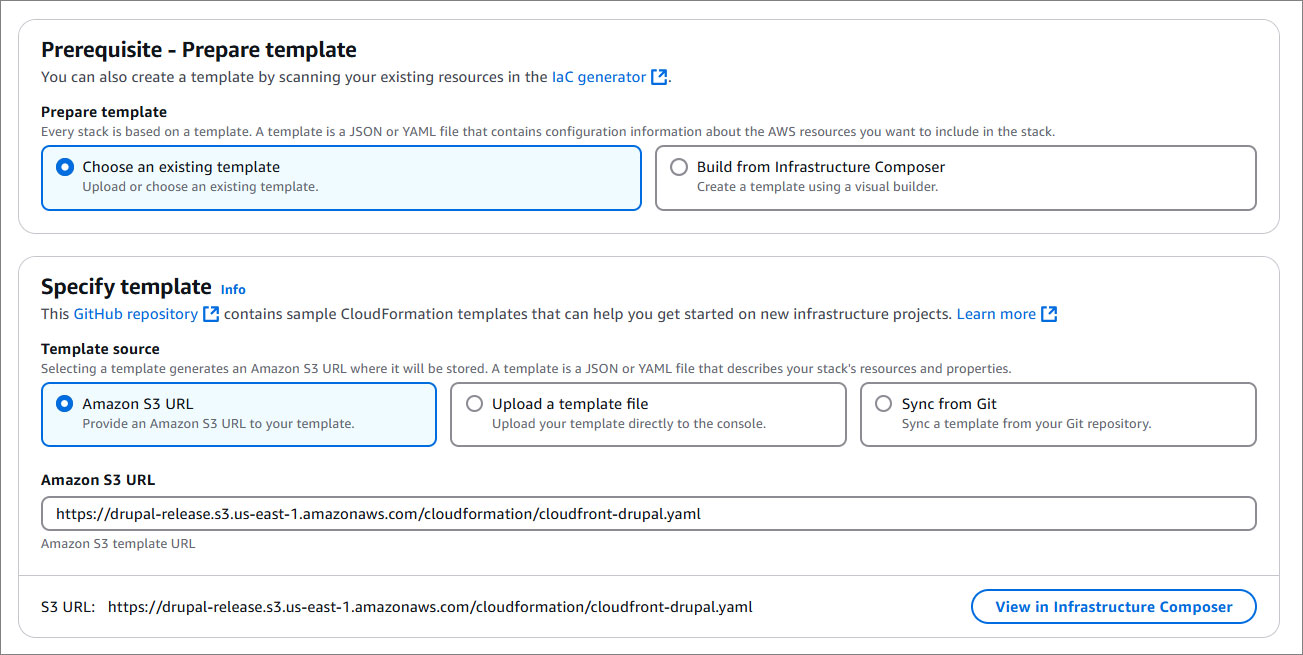
Click the button below and let CloudFormation work its magic.
Heads Up: If you’re not in us-east-1, adjust the region in the AWS console menu to match where you are.
#
Step 2: Name your stack & add details
Pick a name that works for you—whether it’s fun, simple, or somewhere in between. Just make sure it’s between 1–128 characters, begins with a letter, and doesn’t include any special characters.

#
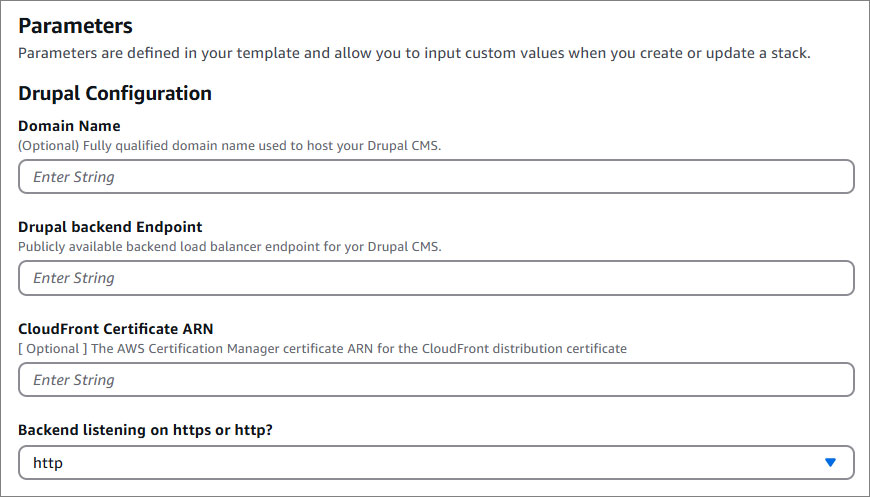
Step 3: Customize your settings
Add details like your domain name, certificate ARN, and CMS DNS. The wizard will guide you here.
#
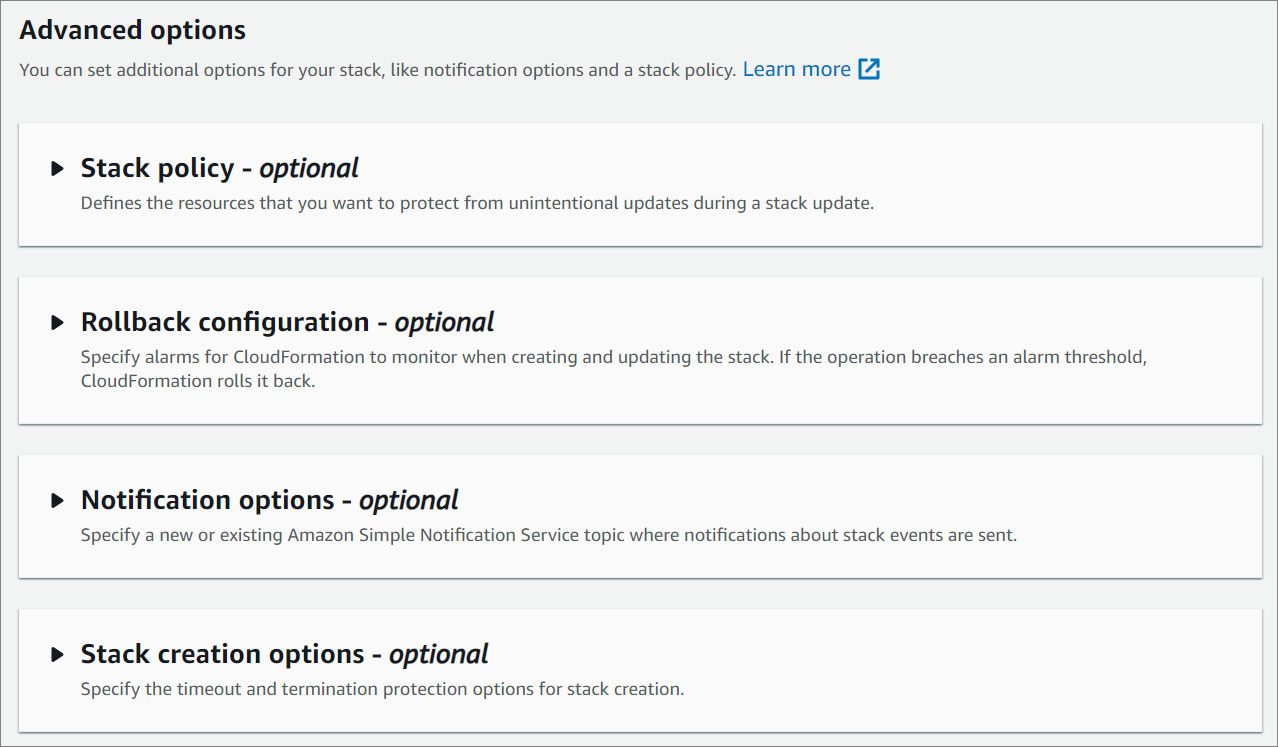
Step 4: Configure stack options
Optional but useful for organizing resources.
#
Step 5: Review and create
Double-check everything and hit Submit.
#
Update Record
Go to Route 53 by searching for it in the Services menu.
Under Hosted Zones, select the domain you created earlier.
Select your domain and click on Edit Record.
Update the Record Type to A - Routes traffic to an IPv4 address and some AWS resources
Enable Alias.
Under Route traffic to select Alias to CloudFront distribution.
Select the corresponding CloudFront distribution.
Click Save and allow about 60 seconds for the changes to take effect.
Pro Tip: Confirm the correct CloudFront distribution by matching its domain name in the CloudFront dashboard.
#
Access your CMS
Now it's time to log into your Drupal dashboard and start building your website! Here's how:
Open your browser and paste the WebsiteURL to see your Drupal front-end website live.
For full control simply add
/user/loginto your URL and log in using the credentials listed in the Outputs tab.
Congratulations, you did it! Your website is now fully optimized — blazing fast, secure, and equipped with all the tools to stand out in the digital world. With your sleek SSL certificate and lightning-fast CDN, you have built a solid foundation to impress and engage your visitors. Now it's time to start customizing, creating, and bringing your vision to life. Get ready to take on the internet!