How to Host a Drupal Pro in AWS
Launching a Drupal website on AWS unlocks the full potential of this highly customizable content management system. Known for its flexibility and advanced features, Drupal is perfect for creating dynamic, content-rich websites and applications. Hosting on AWS provides the scalability and reliability needed to support complex site architectures and heavy traffic loads. With AWS, you can seamlessly deploy, manage, and optimize your Drupal environment while benefiting from secure infrastructure and global reach, making it an excellent solution for developers and organizations seeking robust digital experiences.
Ready to launch your own Drupal website? In this guide, we’ll take you through the process of setting up your domain with a hosted zone, deploying Drupal on AWS, linking your domain, and accessing your site to begin customization. Let’s dive in and get your site up and running!
Create a hosted zone
Now’s your chance to carve out your space in the digital landscape! Using AWS Route 53, we'll get your domain set up and ready to roll.
-
Log in to your AWS Management Console.
-
Type Route 53 into the search bar in the Services menu — your trusty GPS for all things AWS.
-
In the Route 53 dashboard, click on Hosted Zones (your domain’s future home).
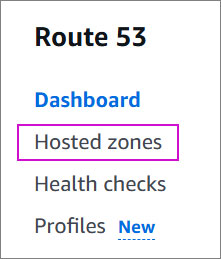
- Ready to build? Click Create hosted zone or choose an existing one if you’ve already started.

- In the "Domain name" field, type your chosen domain (e.g., example.com).
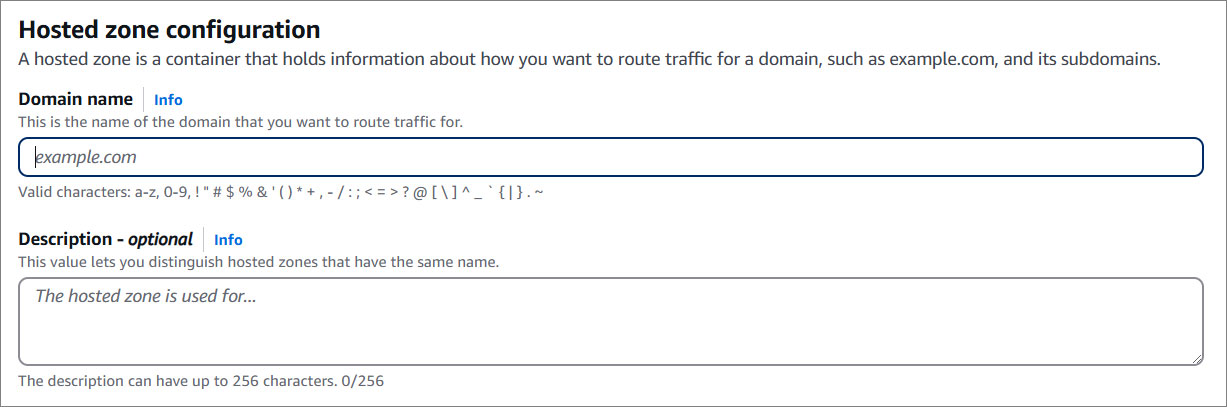
- Select Public hosted zone because we are all about that public presence.

- Click that glorious orange Create hosted zone button, and voilà!
Congrats! Your domain is now set up and ready for action.
Note:
Once your hosted zone is created, make sure your domain is properly connected. Here’s what you’ll need to do:
- For domains registered with another registrar: Check out the guide on Making Amazon Route 53 the DNS service for an existing domain.
- For domains registered with Route 53: Follow the steps in Adding or changing name servers and glue records for a domain.
Pro Tip: Want to dig deeper? The AWS Route 53 Documentation is your go-to treasure map for advanced configurations.
Launch Drupal Pro
The first step is straightforward — visit the AWS Marketplace and click that Subscribe button.Think of it as reserving your spot on the Drupal express, ready to take you to new digital heights. Once subscribed, head back here, and we’ll walk you through the next steps!
Eager to launch your Drupal instance? Follow the CloudFormation Guide. Solodev makes it easy — click the Launch button below, and let’s get rolling!
Step 1: Create stack
Your CloudFormation template is locked and loaded — just click Next to kick things off.
Step 2: Name your stack & add details
Give your stack a name (get creative or keep it simple), then fill in the setup parameters.
Step 3: Fine-tune your settings
Network Settings:
Choose your VPCID, PublicSubnet1ID, PublicSubnet2ID, and KeyName from the dropdowns. Need a refresher? You can learn more about these here.
Drupal Settings:
Set up the essentials like your AdminPassword, DatabasePassword, WebsiteURL, and Webmaster. Think of this as laying the groundwork for your site’s security and accessibility.
Step 4: Configure stack options
This part is totally optional, so feel free to skip or explore as needed. If you’d like more details, check out this guide. Once you're ready, acknowledge the AWS CloudFormation terms, and hit Next to set things in motion!
Step 5: Review and create
Take a moment to review your settings and ensure everything looks good. Once you're confident, hit Submit — and just like that, you're on your way to launching your stack!
Pro tip: Take a deep breath and relax — this part’s a breeze, but a little patience goes a long way!
Point your domain
It’s time to claim your corner of the web using Route 53. Follow these steps to connect your domain to your Drupal site:
-
Navigate to Route 53 by searching for it in the Services menu.
-
Locate Hosted Zones and select the domain you created earlier.
-
Click Create Record.

- Under Record Name, type the subdomain name (e.g.,
wwwforwww.example.com). From the Record Type dropdown, selectCNAME - Routes traffic to another domain name and some AWS resources, and in the Value box, paste theAdminUrlof your instance.
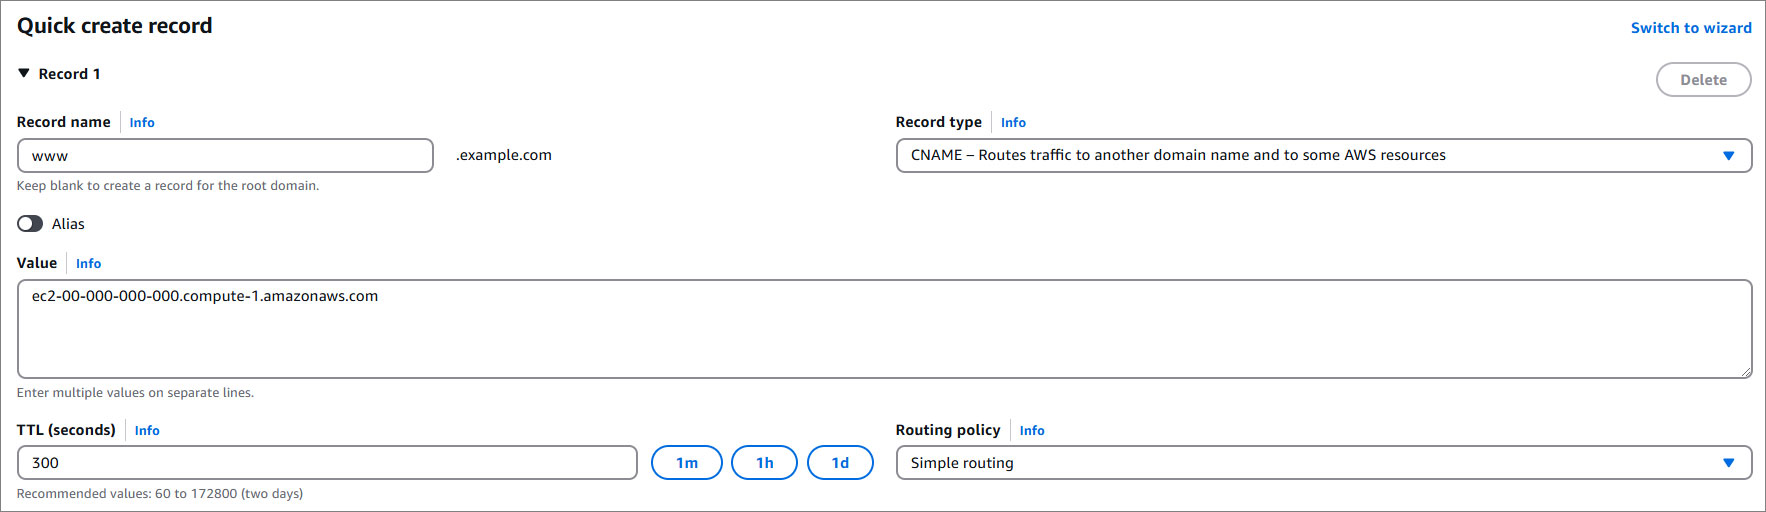
Pro Tip: Need the AdminUrl for your Drupal dashboard? Go to CloudFormation, locate your Drupal instance, and click on the Outputs tab.
Access your Drupal instance
Once your stack is up and running, it’s time to explore! Head to your browser and paste your website URL — your Drupal site is live and ready for action!
Note:
Ensure you use http:// instead of https:// when accessing your site.
In Part 2, we’ll focus on enhancing your site’s performance by adding a lightning-fast CDN. This step will supercharge your website, ensuring faster load times and an optimized user experience for visitors around the world.