#

<div class="header">
  <div class="inner">
    <img src="/static/images/logos/customerio-logo.png" alt="Customer.io Logo">
    <div>
      <h1 style="color: #222;">Customer.io</h1>
      <p style="padding-left: 2rem; margin-bottom: 0; color: #222;">Send data-driven emails, SMS, and push notifications with total control.</p>
    </div>
  </div>
  <a href="https://fly.customer.io/signup/" rel="noopener noreferrer" target="_blank" class="btn-orange-lg">SIGN UP <span style="padding-left: .5rem; display: inline-flex; align-items: center;"><svg xmlns="http://www.w3.org/2000/svg" viewBox="0 0 16 16" width="20" height="20" fill="#fff"><path d="M3.75 2h3.5a.75.75 0 0 1 0 1.5h-3.5a.25.25 0 0 0-.25.25v8.5c0 .138.112.25.25.25h8.5a.25.25 0 0 0 .25-.25v-3.5a.75.75 0 0 1 1.5 0v3.5A1.75 1.75 0 0 1 12.25 14h-8.5A1.75 1.75 0 0 1 2 12.25v-8.5C2 2.784 2.784 2 3.75 2Zm6.854-1h4.146a.25.25 0 0 1 .25.25v4.146a.25.25 0 0 1-.427.177L13.03 4.03 9.28 7.78a.751.751 0 0 1-1.042-.018.751.751 0 0 1-.018-1.042l3.75-3.75-1.543-1.543A.25.25 0 0 1 10.604 1Z"></path></svg></span></a>
</div>

With Customer.io, you can craft and send data-driven emails, push notifications, and SMS messages with flexible data integrations, powerful segmentation, and automation workflows.

## Prerequisites
- Preexisting [website](https://cms.solodev.net/workspace/websites/).

## Installation

1. Go to **Customer.io** and login to your account. If you don't have one, [create a new account](https://fly.customer.io/signup/).

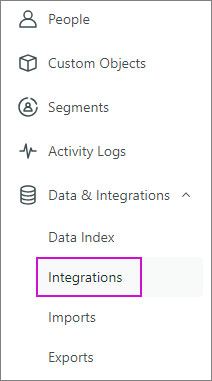
2. Go to **Data & Integrations** and click on **Integrations** in the left-hand menu.
<p><img src="/static/images/customerio/cio-left-nav.jpg" alt="Customer.io Left Nav" style="width: 16%;"></p>

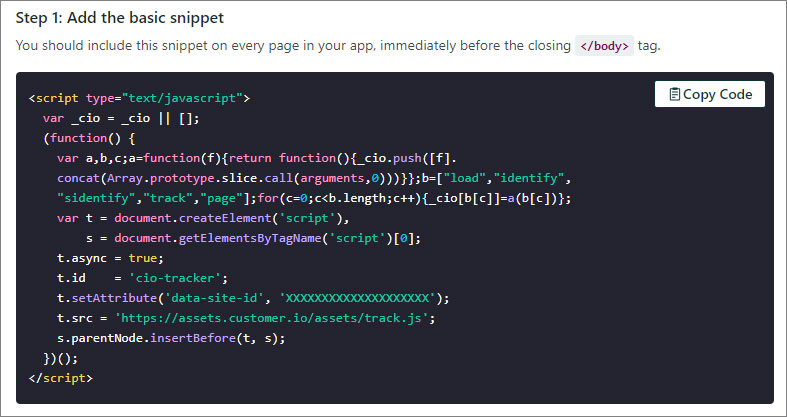
3. Under **Customer.io API**, find the JavaScript snippet.

4. Copy the code snippet provided.
<p><img src="/static/images/customerio/cio-js-snippet.jpg" alt="Customer.io JavaScript snippet" style="width: 50%;"></p>

5. Go to **Google Tag Manager** and log in.

6. Select the container for the website where you want to add Swiftype.

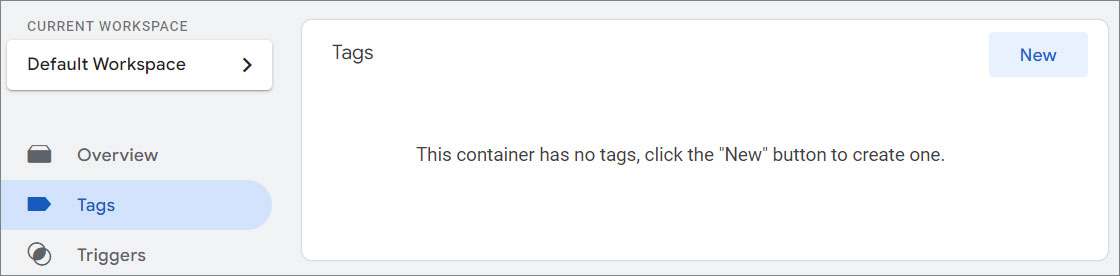
7. Click on **"Tags"** in the left sidebar.

8. Then, click the **New** button to create a new tag.
<p><img src="/static/images/tag-manager/gtm-new-tag.jpg" alt="Google Tag Manager New Tag" style="width: 60%;"></p>

9. Name your tag something descriptive, like **"Customer.io Tracking"**.

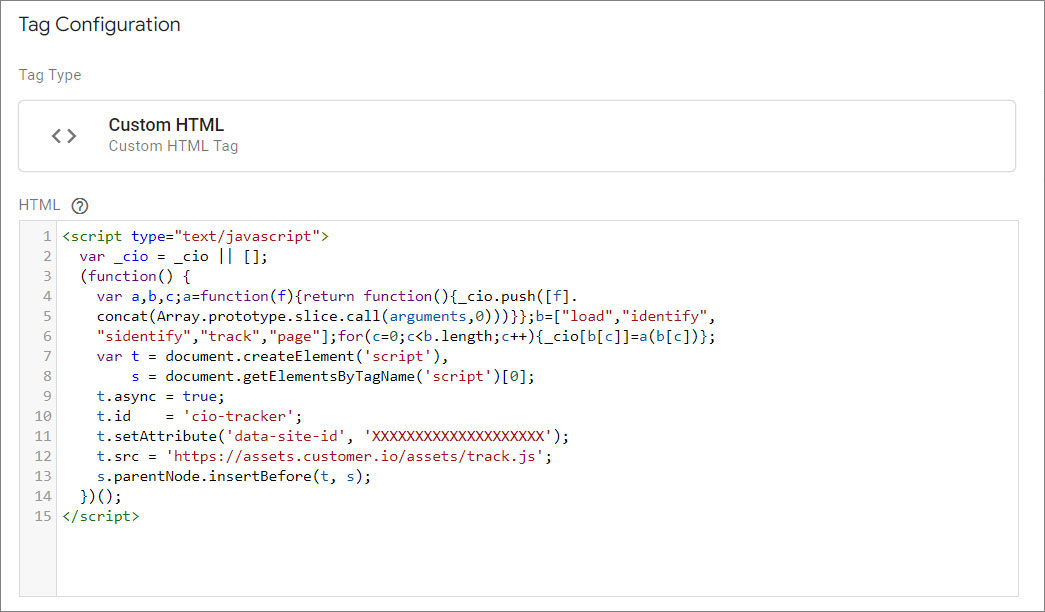
10. Choose **Tag Configuration** and select **Custom HTML**.
<p><img src="/static/images/customerio/gtm-custom-html.jpg" alt="Google Tag Manager Custom HTML" style="width: 60%;"></p>

11. Paste the Customer.io snippet.

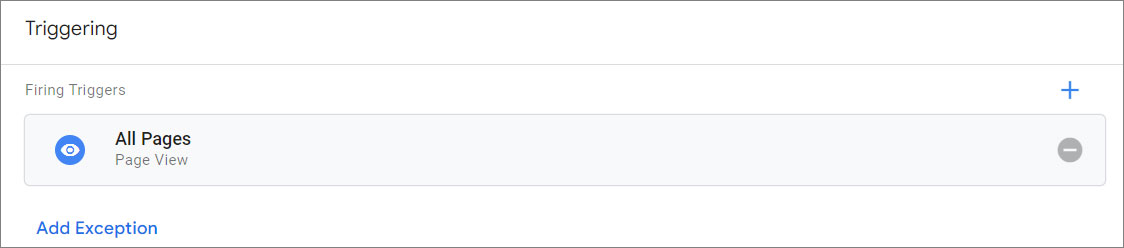
12. Click on **"Triggering"**. Select **All Pages** if you want the search script to be available on every page of your website.

<p><img src="/static/images/tag-manager/gtm-new-tag-all-pages.jpg" alt="Google Tag Manager All Pages Trigger" style="width: 60%;"></p>

<style>
  /* Headers */
  .header {
    display: flex;
    align-items: center;
    justify-content: space-between;
    padding: 2rem 1.5rem;
    margin-bottom: 2rem;
    background-color: #eef6ff;
  }
  .header .inner {
    display: flex;
    align-items: center;
    justify-content: start;
  }
  .header img {
    width: 80px;
  }
  .header h1 {
    margin-left: 0;
    font-size: 2rem;
    margin-bottom: 0.25rem;
  }
  .header p {
    padding-left: 2rem;
    margin-bottom: 0;
  }
</style>
