#
Keycloak Serverless
Keycloak provides user federation, strong authentication, user management, fine-grained authorization, and more.
#
Prerequisites
- Have an existing AWS Account.
- Have an existing Certificate .
- Previously created Hostname .
- Preexisting VPC LAUNCH STACK
#
Subscription
The following steps cover the setup of the Keycloak Serverless on the AWS Marketplace. Click the “Continue to Subscribe” button at the top of the AWS Marketplace listing page to continue the process. Keycloak Serverless is available as a monthly subscription on the AWS Marketplace. The subscription includes the software's operational and infrastructure costs for running on AWS.
- Subscribe to Solodev on the AWS Marketplace. SUBSCRIBE
- Review and accept the "Terms and Conditions".
- Click "Continue to Configuration".

NOTE:
Once accepted, you will receive a thank you message asking you to configure your software.
This process can take a few moments. Please do not exit the screen or refresh the page.
#
Configure Software
- Choose a fulfillment option and software version to launch this software.
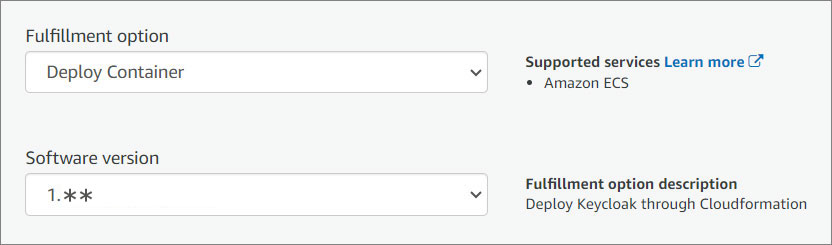
- Click "Continue to Launch."

Important:
On the next screen, click on "Usage Instructions" and then select the Quickstart link to continue the installation.
#
Launch Software
Review the launch configuration details and follow the instructions to launch this software.
To continue the installation, click the Launch button below and follow the outlined steps.
NOTE:
If your AWS region is different from us-east-1, make sure to select your specific region from the top menu.
#
Create Stack
- Create a stack.
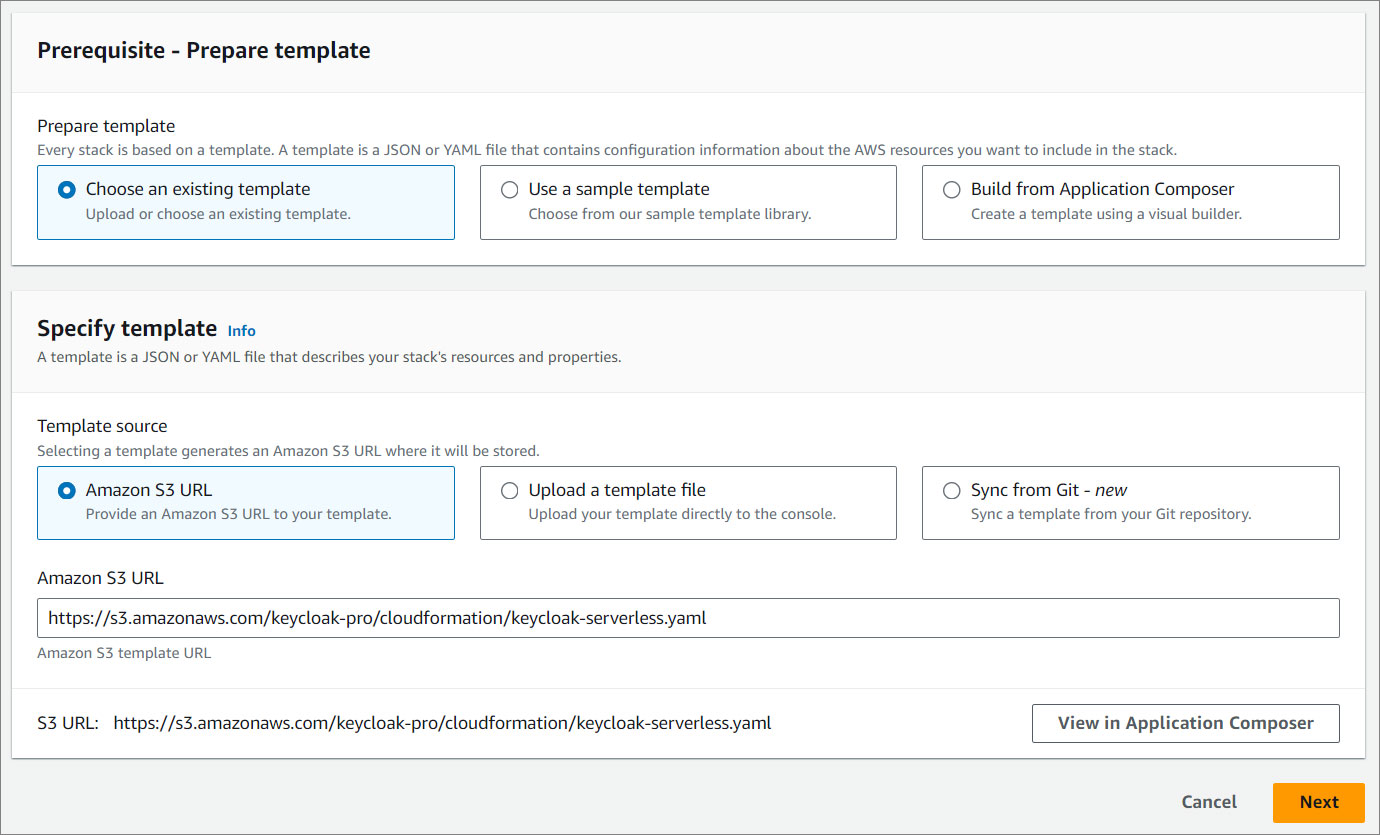
- Click Next.
#
Stack Details
#
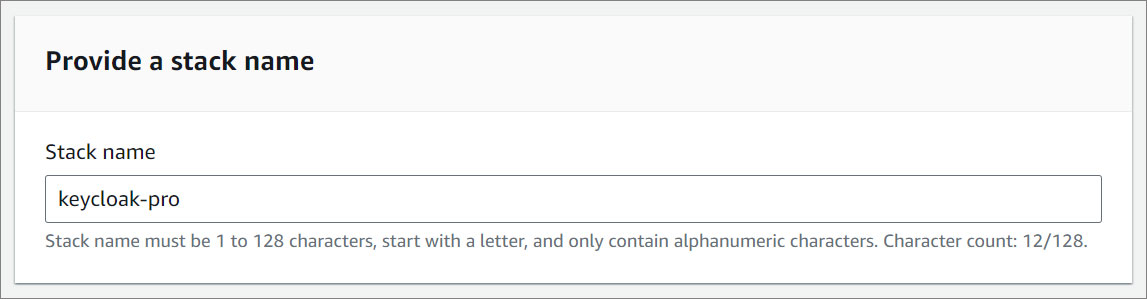
Provide a stack name
- Provide a stack name. Stack name must be 1 to 128 characters, start with a letter, and only contain alphanumeric characters.
#
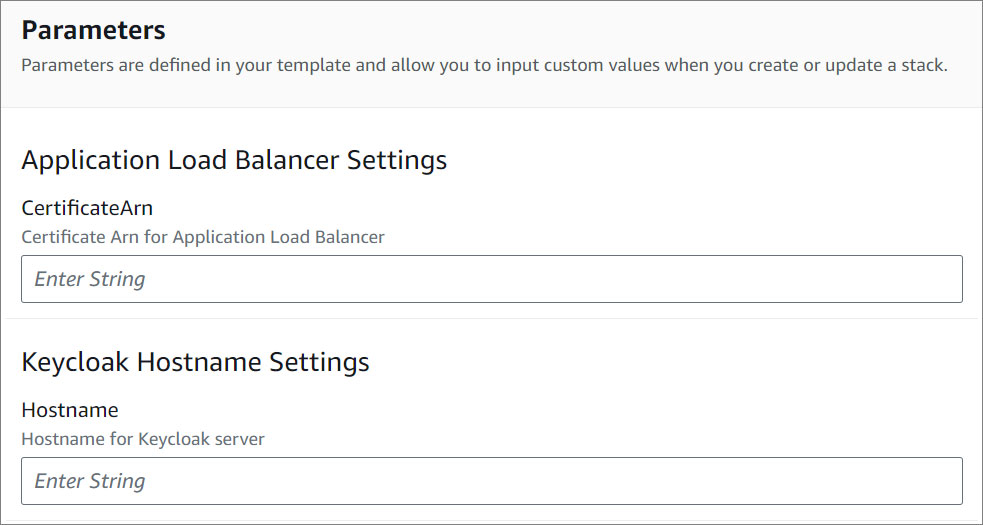
Parameters
- Specify the parameters in the setup section.
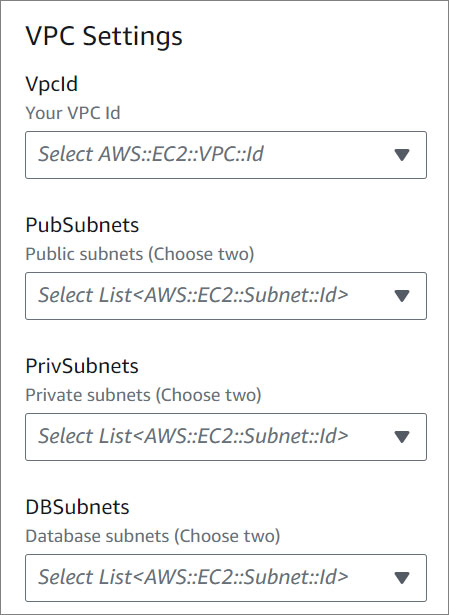
- VPC Settings.
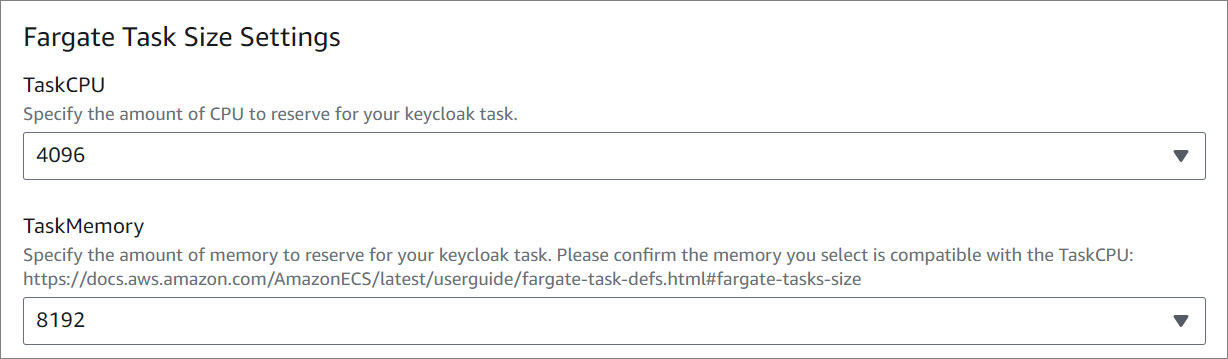
- Fargate Task Size Settings
- AutoScaling Settings

- Environment variable

Note:
If you set HostnameStrict=true, you need to create your domain in Amazon Route 53.
- Click Next.
#
Configure Stack Options
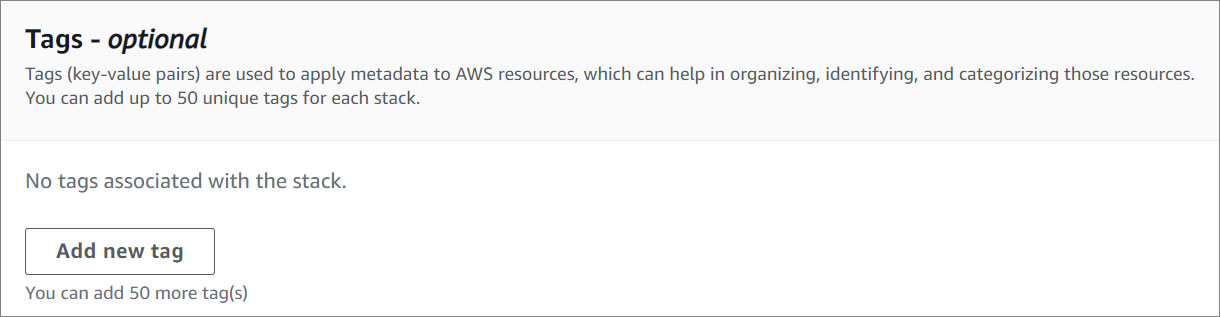
- Add a new tag. This step is optional.
Tags (key-value pairs) are used to apply metadata to AWS resources, which can help in organizing, identifying, and categorizing those resources. You can add up to 50 unique tags for each stack. If you need more information about tags, click here.
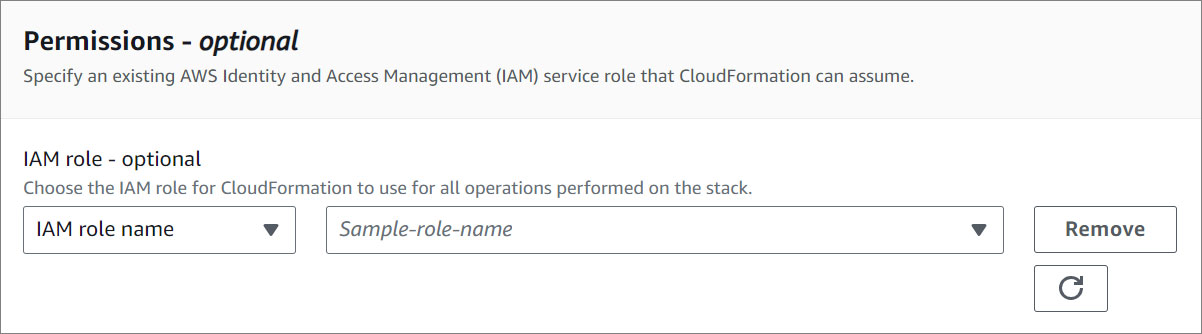
- Specify an existing AWS Identity and Access Management (IAM) service role that CloudFormation can assume. This step is optional.
- Select the stack failure options.
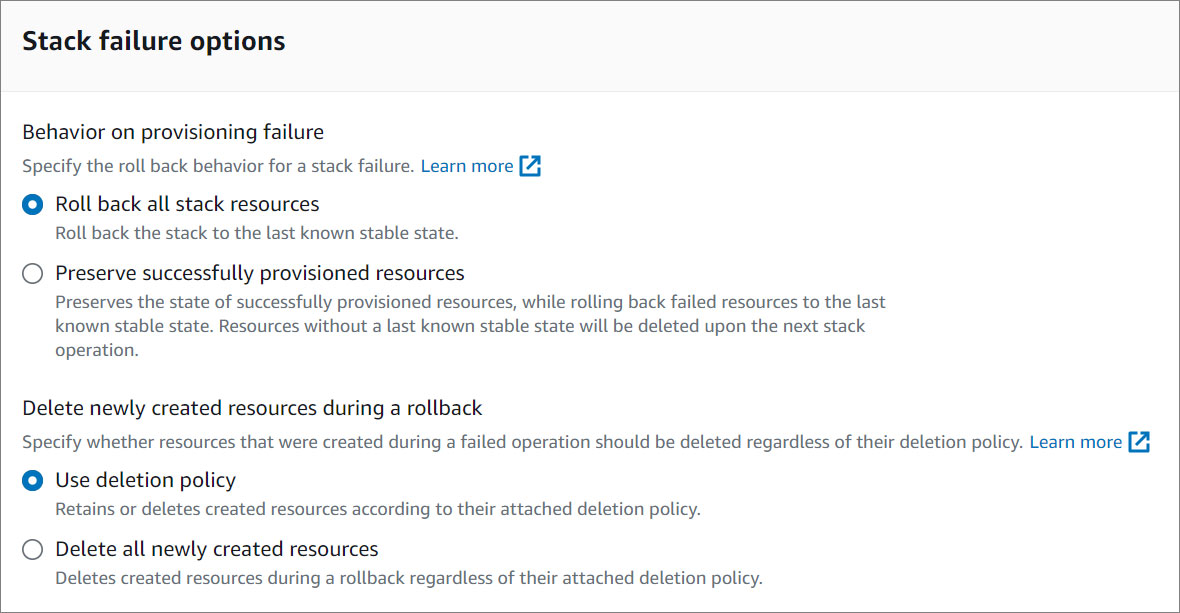
To learn more about the stack failure options, click here .
#
Advanced options
- You can set additional options for your stack, like notification options and a stack policy. For more information, click here .
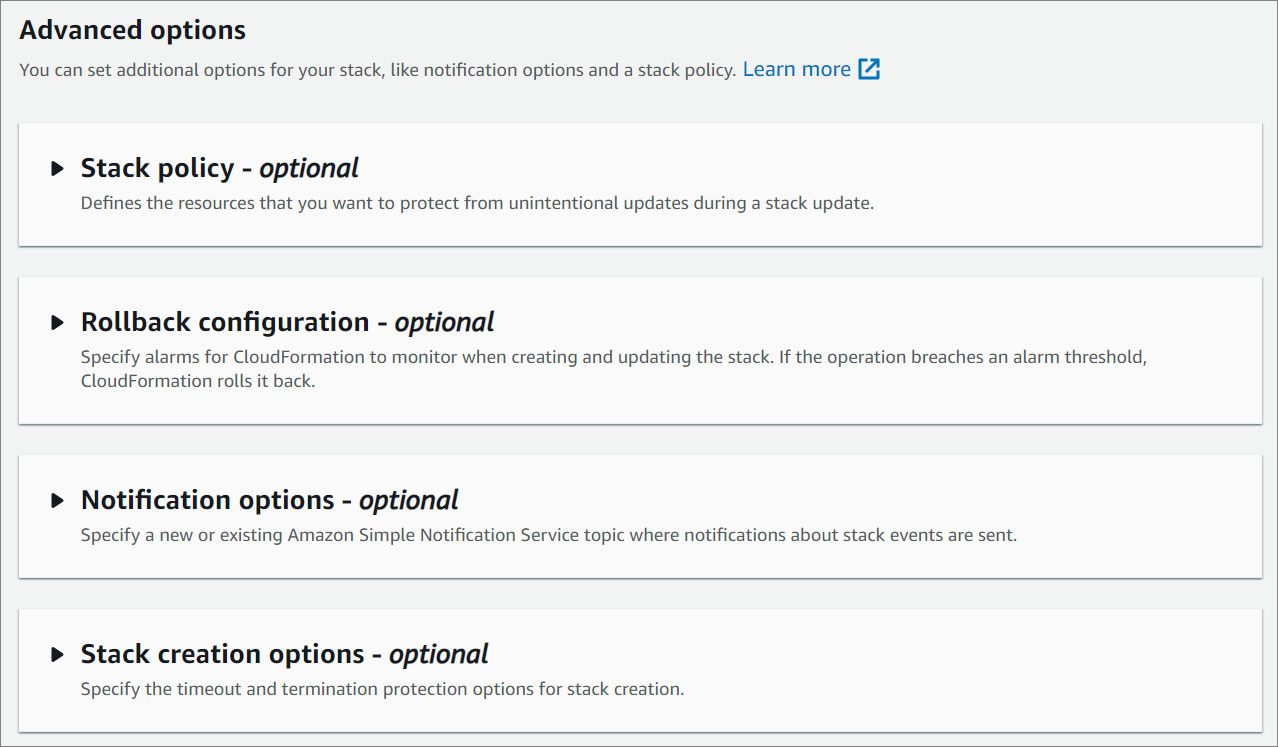
- Click Next.
#
Review and create
Review your settings.
Acknowledge the AWS CloudFormation terms. For more information, click here.

- Click Submit.
#
Stacks
- Watch your Keycloak being created! Once the status changes from CREATE_IN_PROGRESS to CREATE_COMPLETE, you can access your Keycloak.
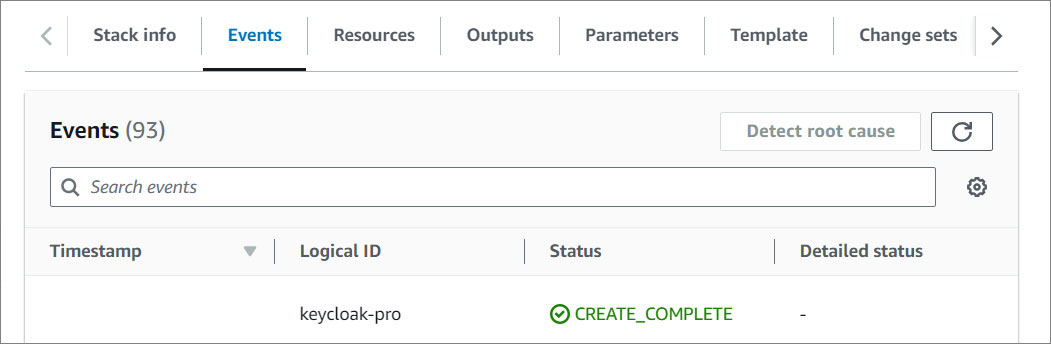
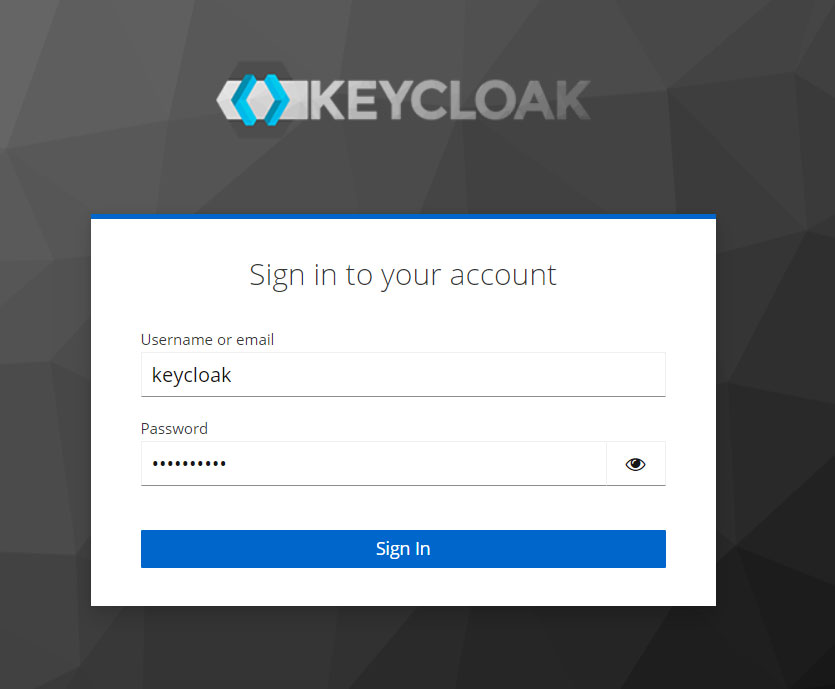
- Click on the Outputs tab and click on the KeyCloakContainerServiceEndpointURL value.
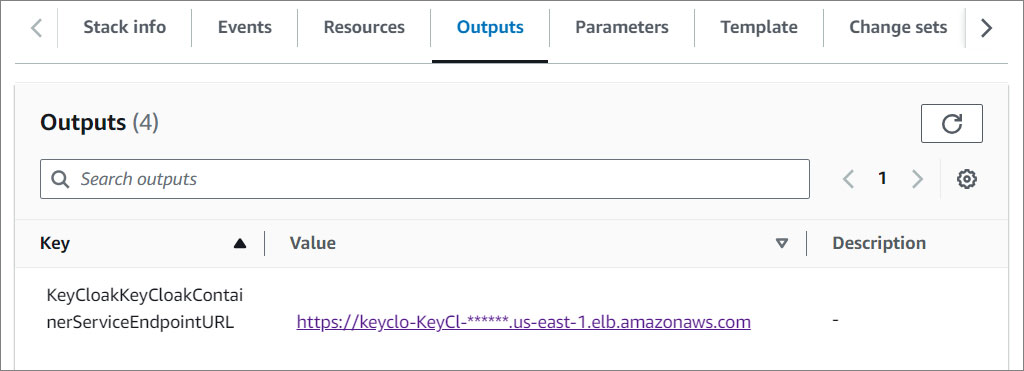
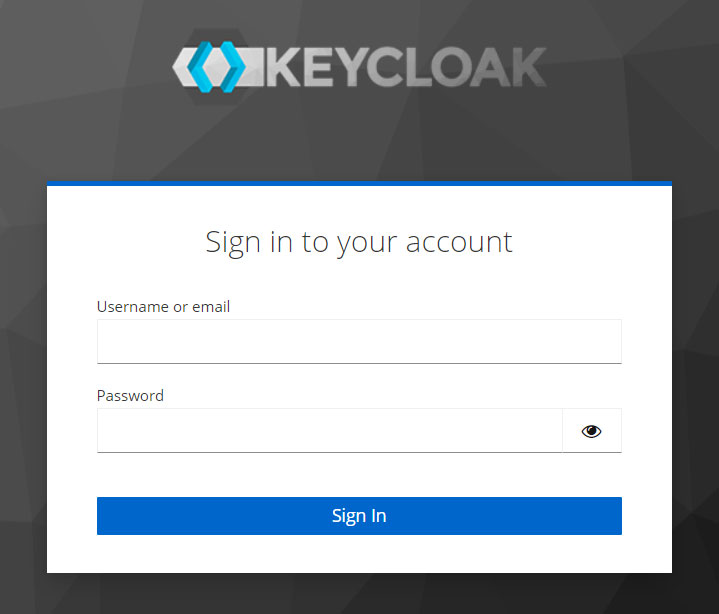
- This will open your login screen.
#
Access your credentials
Go to the AWS Secrets Manager console.
In the the filter box, enter KeyCloakKCSecret.
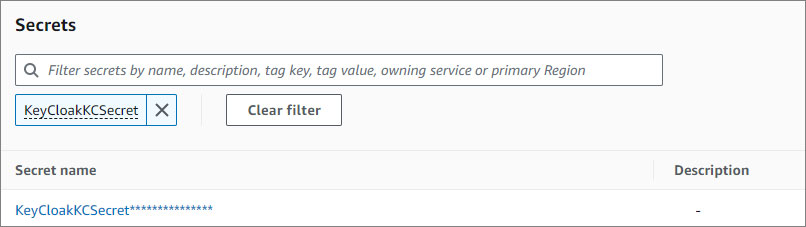
Click on the KeyCloakKCSecret corresponding to the Keycloak you deployed.
On the Overview tab, click Retrieve secret value.
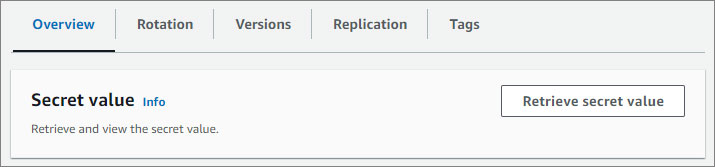
- Copy the username and password.

- Use the credentials you just retrieve to log in.